Local installation
Prepare
Obtain all the credentials to connect to the following services:
Database (MySQL).
Cache layer (Redis).
Setup App Server
Clone the Repository
shell
git clone https://github.com/shopware/swagsalesagent.git
cd swagsalesagent
Create a .env File
- Use the provided
.env.templatefile as an example.
shell
cp .env.template .envFill in the required details in the .env file. All detailed explanations of the properties are written in the .env.template.
Install dependencies
shell
pnpm install --frozen-lockfile --prefer-offlineMigrate Database
Choose one of the following commands based on your needs:
- Execute existing migrations without creating new files:
bash
pnpm db:migration:deploy- Execute & create new migration files if there are schema changes:
bash
pnpm db:migration:devRun the Development Server
shell
pnpm devBuild code for Production
shell
pnpm buildConnect App to Shopware Instance
- Build zip
bash
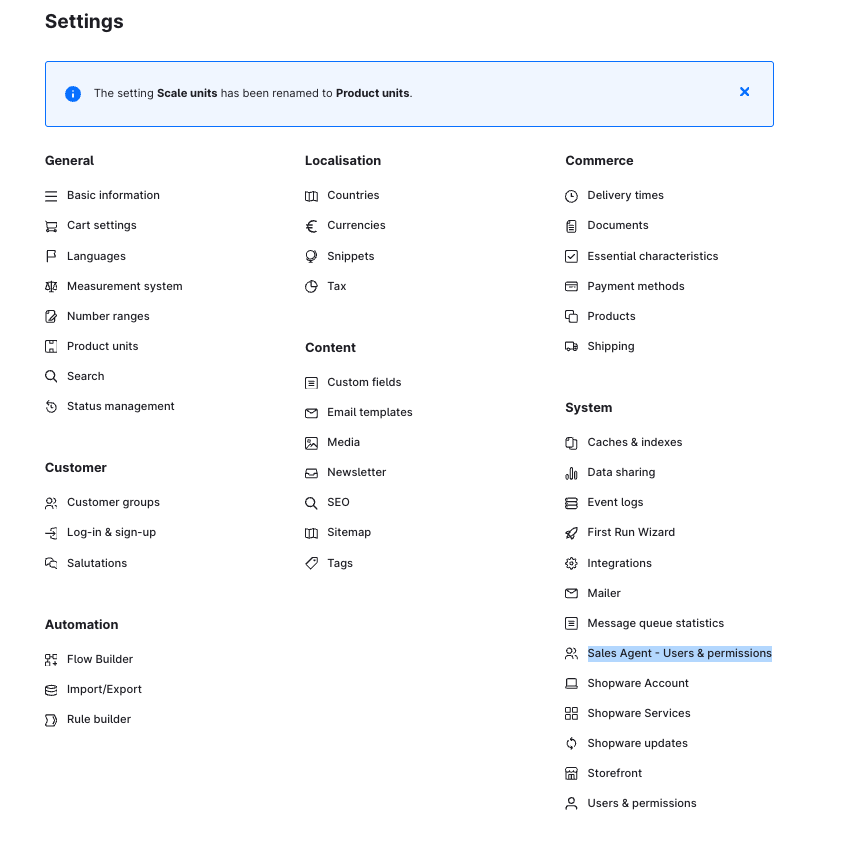
pnpm app:buildUpload zip from
bundle/swagsalesagent.zipinto Shopware Extensions.Verify the Installed App: after installation, you should see the Sales Agent menu item appear in the Settings.